


Are you ready to finish up your advent calendar? My apologies if you have been waiting patiently for part 2. The holiday weekend kind of got the better of me.
To see the first installment of this tutorial, go to Stocking Advent Calendar part 1 here

Approximately 3/4 yd of linen
3/4 yd backing fabric, batting and extra for binding
24 1" miniature wooden clothespins (find in any craft store)
Spray paint to match your design if desired (IO used Rustoleum enamel paint)
Black thread
Washable marker
20" ribbon for hanging
1/4" wooden dowel cut to 20" length
Glue gun and glue sticks
This part of the tutorial is going to be very free-spirited and short. You can finish up the back of the calendar any way you like. I have already shown you one option where the stockings were laid out in a circle.

That won't work for a wall hanging obviously, but works well as a table topper or centerpiece. In that case the background fabric was a square about 25x25". I sewed buttons in a circle and attached the stockings to the buttons by the loops.
Another simple option would be to stop here, find a nice velvet ribbon and simply string the stockings up on the ribbon and use it to adorn your fireplace mantle. Simple, easy and you'ld already be done! Sometimes simplicity speaks volumes! Especially around the holidays when you have a million other things to do.
Another option and the one I'm making here, is going to be hung on a wall, so I'm going to show you how I made that version.
I've chosen a linen backing mostly because I'm loving the linen these days. I've laid out all my stockings in a pattern that I liked. In this case I chose a three-tiered curve that is supposed to represent a washing line. My background pieces measures about 23" by 28"which includes 1/2" seam allowance for binding. I have chosen not to do any patchwork on the background of this piece, because I really want the stockings to be the focal point.
Once your background is cut, you'll want to layer it with batting and quilt it. I've done some basic meandering stipple quilting here, but you could just as easily do straight line quilting in random directions to keep this very modern and simple. There are lots of good online tutorials for making a quilt sandwich and for adding bindings so I'm not going to cover those parts here. Use whichever method appeals to you. Here are some examples:
Making a quilt sandwich 1 Making a quilt sandwich 2 Making a quilt sandwich 3
Binding 1 Binding 2 Binding 3
Before you sew on your binding, if you are planning on hanging this on a wall you might want to add a little sleeve onto the back of the quilt so you can hang it. I've done that here. Take 2" by 20" rectangle and finish the short edges with a narrow seam. Then fold in half lengthwise and sew it into the binding seams. Pin in place matching up the straight edges. You'll be attaching the sleeve to the quilt when you sew on the binding.
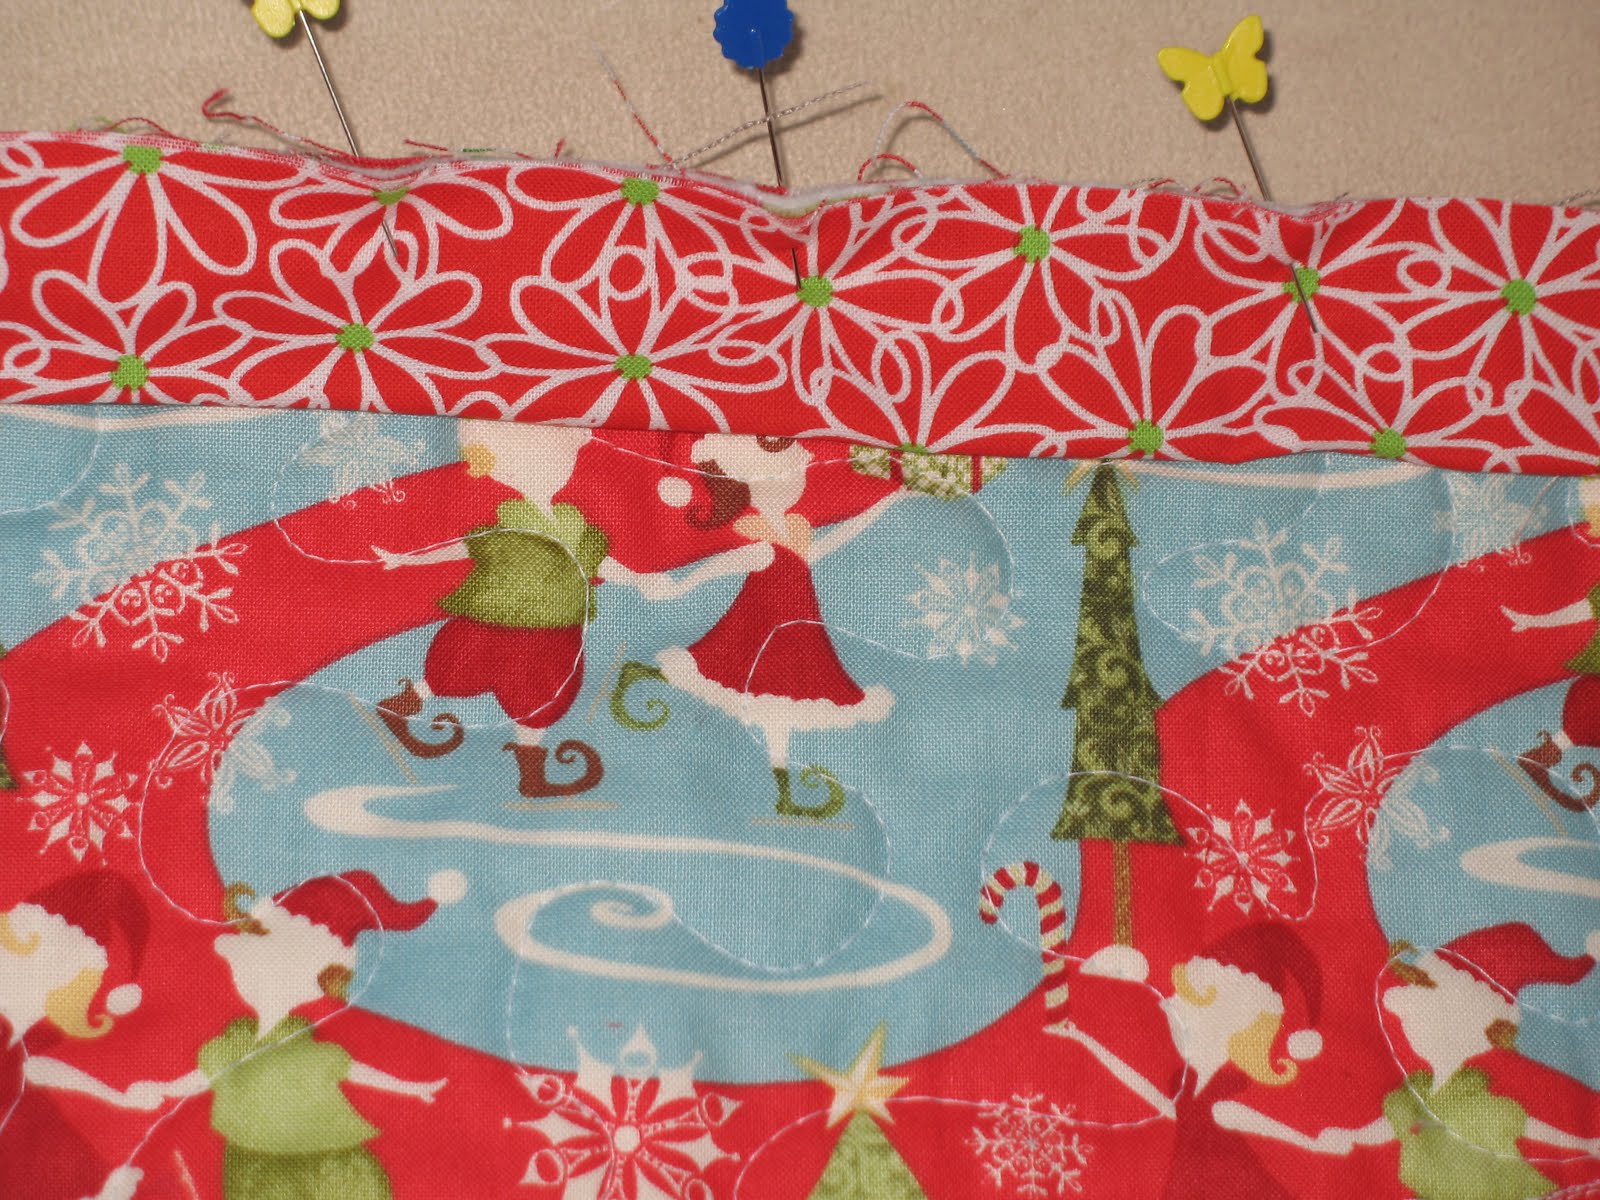
 Again see the binding tutorials linked above if you need to reference that step. I've chosen a contrasting red print for the binding to liven things up a bit and because I really like the contrast of bright reds with linen. Use a long wooden dowel (mine is 1/4" diameter) to hold up your quilt and add some fishing wire or pretty ribbon to hang it on the wall later.
Next, lay out your stockings again on your finished quilt background.
 I get them all situated in the way I like them, then mark about 1/2" above the stocking tops on the loop side using a water soluble marker.
 Then I just drew in a line between the dots, to get a smooth curve.
 This line will be the stitching line. I attached my walking foot to my sewing machine and sewed 3 lines of stitching over marker line with black thread.

I've sewed miniature clothespins onto the background at the 'washing' line and then attached the stockings to clothespins. Clothespins don't come in aqua, so I had to spray paint these first.

And you are done with the sewing!! Put and wooden dowel in the sleeve on the back of the quilt and glue a piece of decorative ribbon to the dowel at both ends. Hang on the wall and enjoy!

Doesn't it look fabulous? Don't you wish you could be a kid again? You can always keep this calendar for yourself, I won't tell ;)
You could use any layout, it doesn't have to be this one. Just arrange the stockings any way you like them. It's up to you!
Now, I'm going to fill my stockings with little chocolates and other treats since tomorrow is Dec 1st!

If you make this advent calendar, please post your pics in the Trillium Design Flickr group. I always love to see your creations. Happy Holidays and Happy Sewing!

This part of the tutorial is going to be very free-spirited and short. You can finish up the back of the calendar any way you like. I have already shown you one option where the stockings were laid out in a circle.
That won't work for a wall hanging obviously, but works well as a table topper or centerpiece. In that case the background fabric was a square about 25x25". I sewed buttons in a circle and attached the stockings to the buttons by the loops.
Another simple option would be to stop here, find a nice velvet ribbon and simply string the stockings up on the ribbon and use it to adorn your fireplace mantle. Simple, easy and you'ld already be done! Sometimes simplicity speaks volumes! Especially around the holidays when you have a million other things to do.
Another option and the one I'm making here, is going to be hung on a wall, so I'm going to show you how I made that version.
I've chosen a linen backing mostly because I'm loving the linen these days. I've laid out all my stockings in a pattern that I liked. In this case I chose a three-tiered curve that is supposed to represent a washing line. My background pieces measures about 23" by 28"which includes 1/2" seam allowance for binding. I have chosen not to do any patchwork on the background of this piece, because I really want the stockings to be the focal point.
Once your background is cut, you'll want to layer it with batting and quilt it. I've done some basic meandering stipple quilting here, but you could just as easily do straight line quilting in random directions to keep this very modern and simple. There are lots of good online tutorials for making a quilt sandwich and for adding bindings so I'm not going to cover those parts here. Use whichever method appeals to you. Here are some examples:
Making a quilt sandwich 1 Making a quilt sandwich 2 Making a quilt sandwich 3
Binding 1 Binding 2 Binding 3
Before you sew on your binding, if you are planning on hanging this on a wall you might want to add a little sleeve onto the back of the quilt so you can hang it. I've done that here. Take 2" by 20" rectangle and finish the short edges with a narrow seam. Then fold in half lengthwise and sew it into the binding seams. Pin in place matching up the straight edges. You'll be attaching the sleeve to the quilt when you sew on the binding.
 Again see the binding tutorials linked above if you need to reference that step. I've chosen a contrasting red print for the binding to liven things up a bit and because I really like the contrast of bright reds with linen. Use a long wooden dowel (mine is 1/4" diameter) to hold up your quilt and add some fishing wire or pretty ribbon to hang it on the wall later.
Next, lay out your stockings again on your finished quilt background.
 I get them all situated in the way I like them, then mark about 1/2" above the stocking tops on the loop side using a water soluble marker.
 Then I just drew in a line between the dots, to get a smooth curve.
 This line will be the stitching line. I attached my walking foot to my sewing machine and sewed 3 lines of stitching over marker line with black thread.
I've sewed miniature clothespins onto the background at the 'washing' line and then attached the stockings to clothespins. Clothespins don't come in aqua, so I had to spray paint these first.

And you are done with the sewing!! Put and wooden dowel in the sleeve on the back of the quilt and glue a piece of decorative ribbon to the dowel at both ends. Hang on the wall and enjoy!
You could use any layout, it doesn't have to be this one. Just arrange the stockings any way you like them. It's up to you!
Now, I'm going to fill my stockings with little chocolates and other treats since tomorrow is Dec 1st!

If you make this advent calendar, please post your pics in the Trillium Design Flickr group. I always love to see your creations. Happy Holidays and Happy Sewing!


